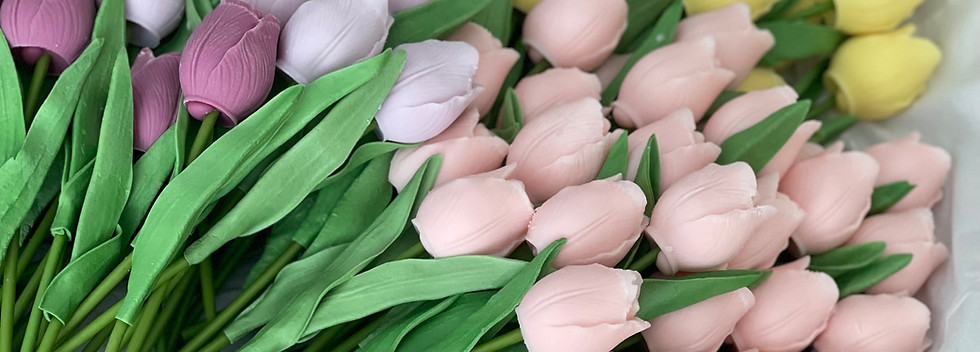
Make Tulips Wax Melts
How to Make Tulip Bloom Wax Melts: A DIY Guide
Tulip bloom wax melts offer a delightful way to infuse your space with the fresh, floral essence of spring. Creating these wax melts at home is both enjoyable and straightforward, especially with the right tools and ingredients.
Materials Needed
Soy Wax Flakes: Known for clean-burning properties or all natural soy for pillars
Tulip Bloom Fragrance Oil: Captures the essence of blooming tulips.
Wax Dye (Optional): For a touch of color.
Silicone Molds: Preferably in floral shapes.
Digital Thermometer: Ensures accurate temperature control.
Stirring Utensil: For mixing.
ToAuto Wax Melter: Provides consistent and safe wax melting.
Step-by-Step Instructions
1. Melt the Wax
Using the ToAuto Wax Melter, melt the soy wax flakes until they reach a temperature of approximately 185°F (85°C). The ToAuto Wax Melter ensures even heating, reducing the risk of overheating or burning the wax.
2. Add Fragrance and Color
Once the wax has cooled slightly to around 175°F (80°C), add the tulip bloom fragrance oil. If desired, incorporate wax dye to achieve your preferred hue. Stir thoroughly to ensure even distribution.
3. Pour into Molds
Carefully pour the scented wax into your silicone molds. Allow the wax to cool and solidify completely, which may take a few hours.
4. Demold and Cure
Once solidified, gently remove the wax melts from the molds. For optimal fragrance throw, let the wax melts cure for 24-48 hours before use.
Tips for Success
Use High-Quality Fragrance Oils: Ensures a strong and lasting scent.
Avoid Overheating: Maintains the integrity of the fragrance.
Experiment with Colors: Customize your wax melts to match your décor or the season.